Curved Patio Stairs (?!?)
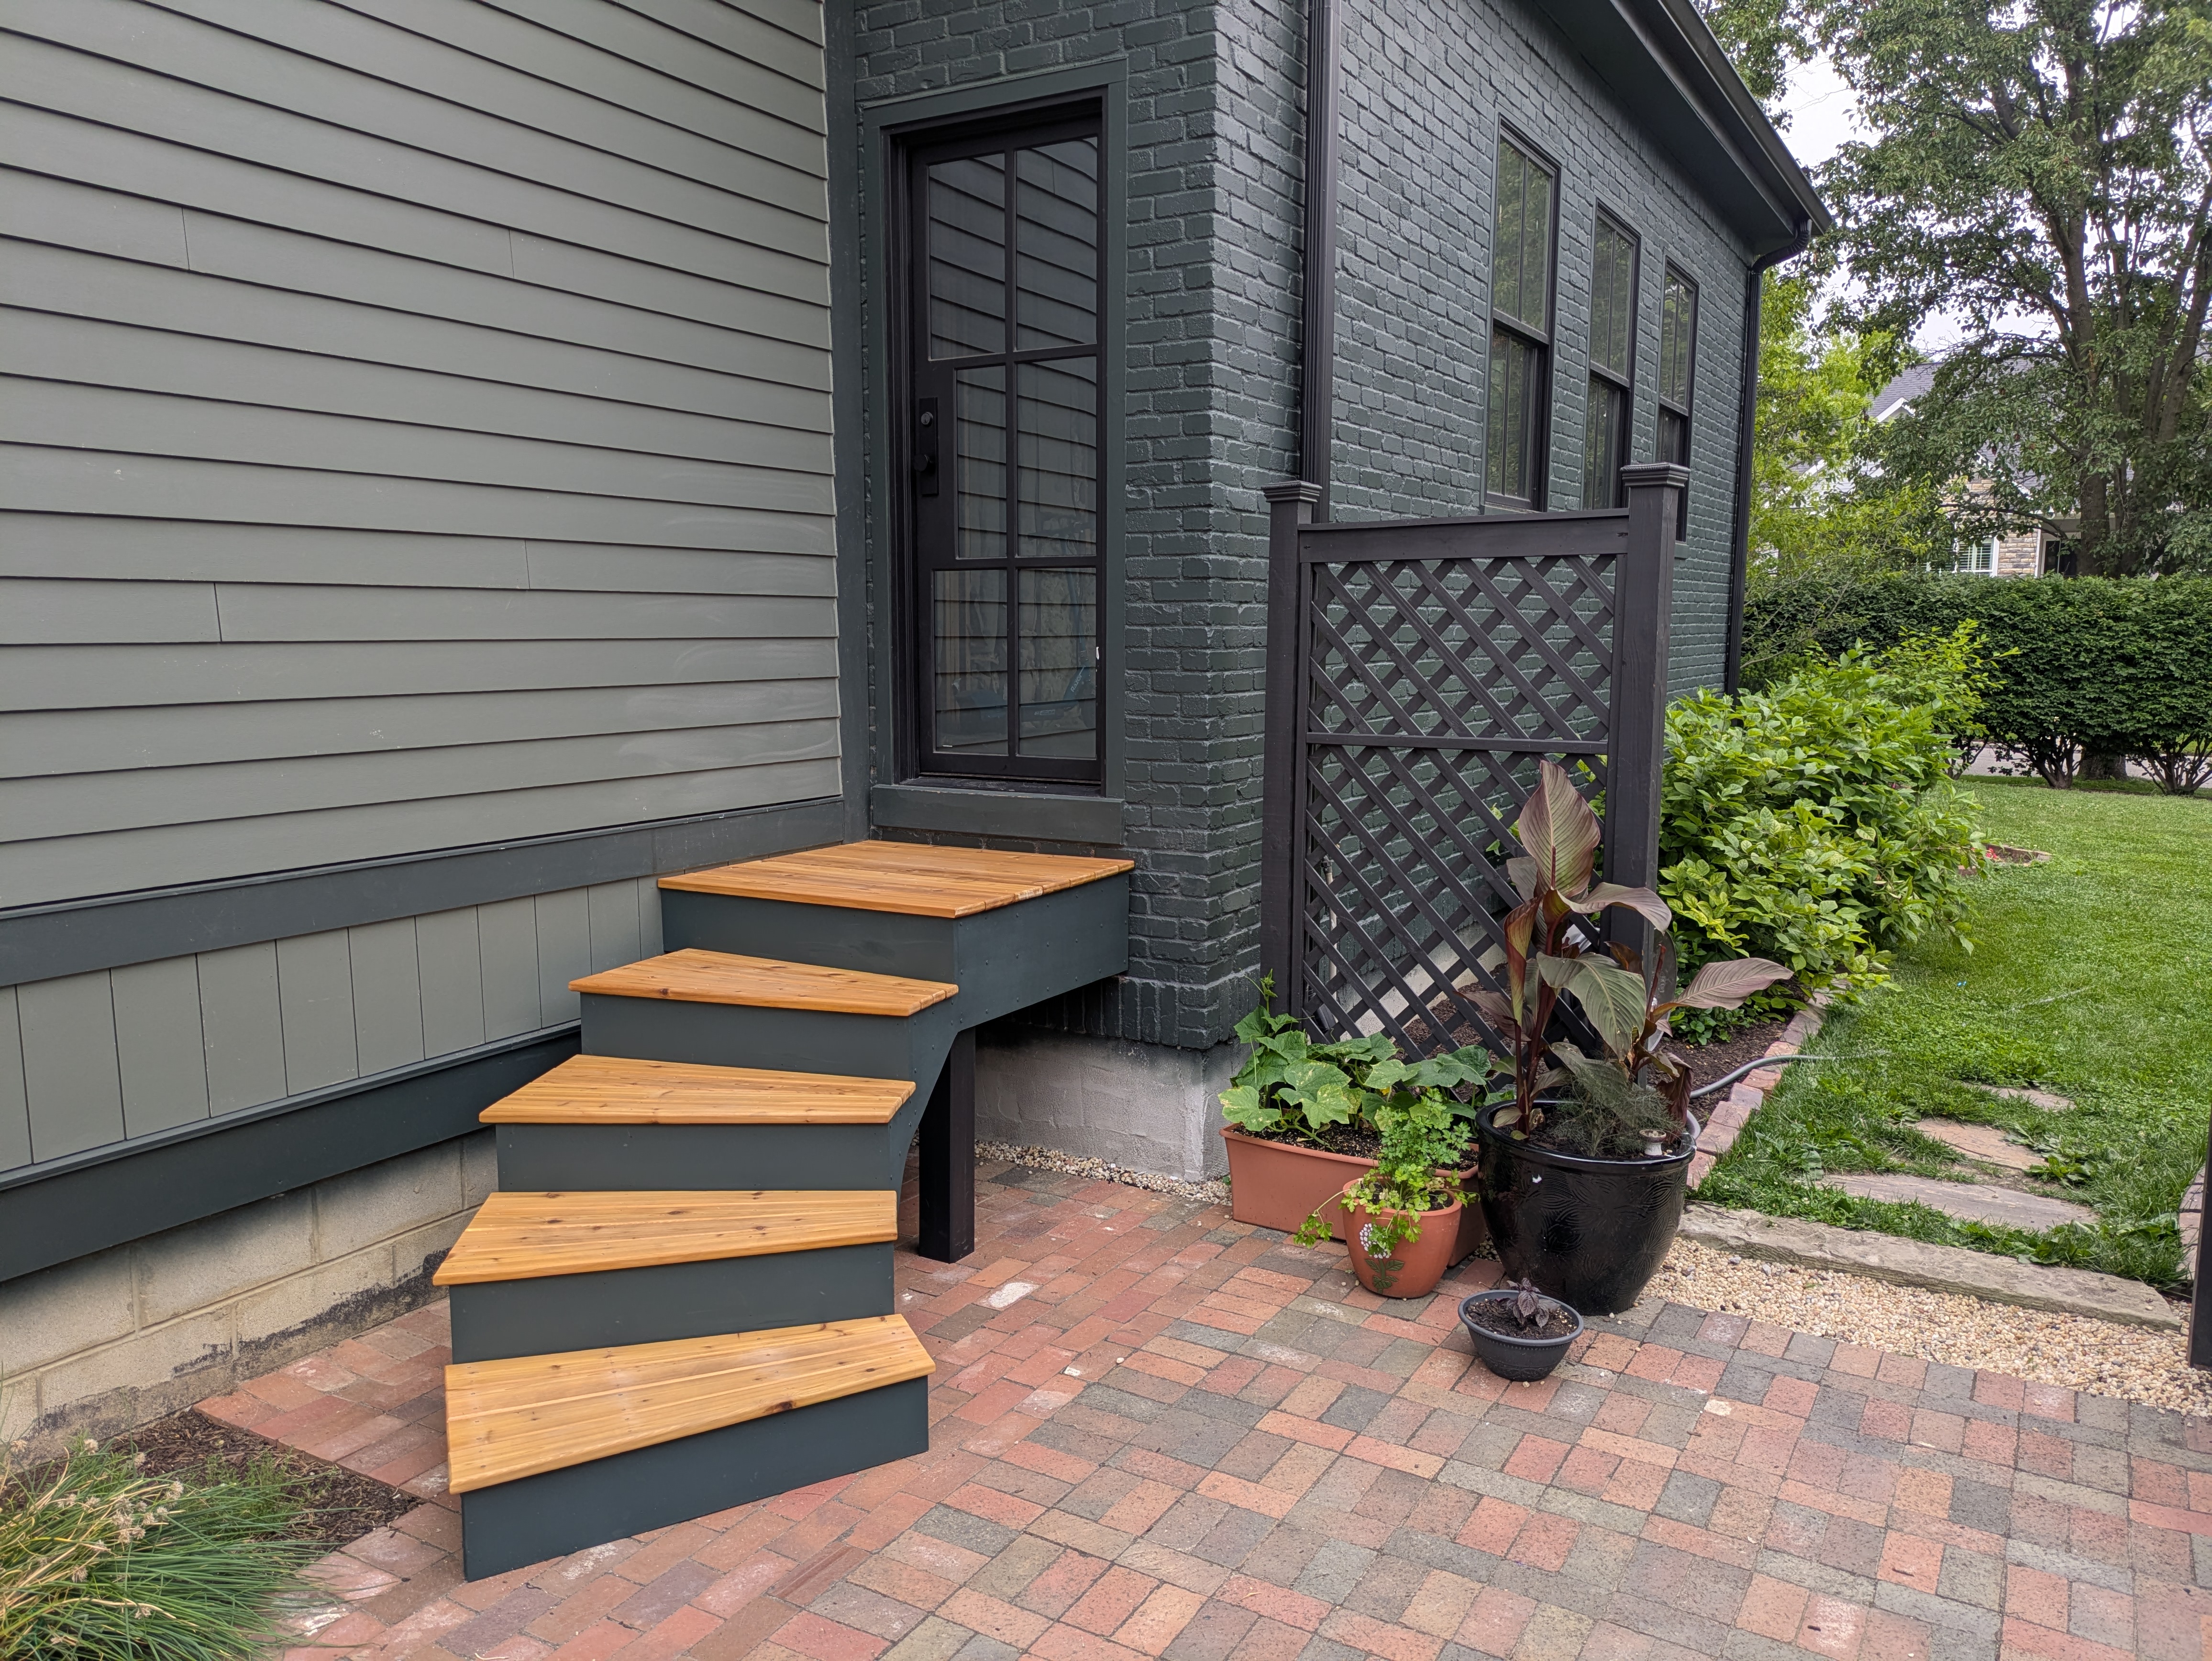
Another spring, another house project. This time, we set out to build our patio stairs. We laid our brick patio down 3 years ago, but the closest thing we've had to an entrance/exit was the mini snow hill from Snowmageddon 2026.

If you know my wife and me, we never like to do things the easy way. No, we needed to build a curved staircase. Here's how we did it.
Modeling in Sketchup
I started by reviewing our local egress building codes and taking measurements. Since we needed more than 2 risers, a landing is required. We're against two walls, so we can run a ledger board along each and place a post on the unsupported corner. We wanted a gentle curve with roomy treads (basically the opposite of a spiral staircase), so I played around with different radii and arc angles. We settled on a 3-foot inside radius and a 60-degree arc so each step has a 15-degree delta from its neighbor(s). Each box has identical dimensions except for the bottom one, which needs to be 1" shorter. This is done to account for the tread height (the other box's treads cancel each other out).
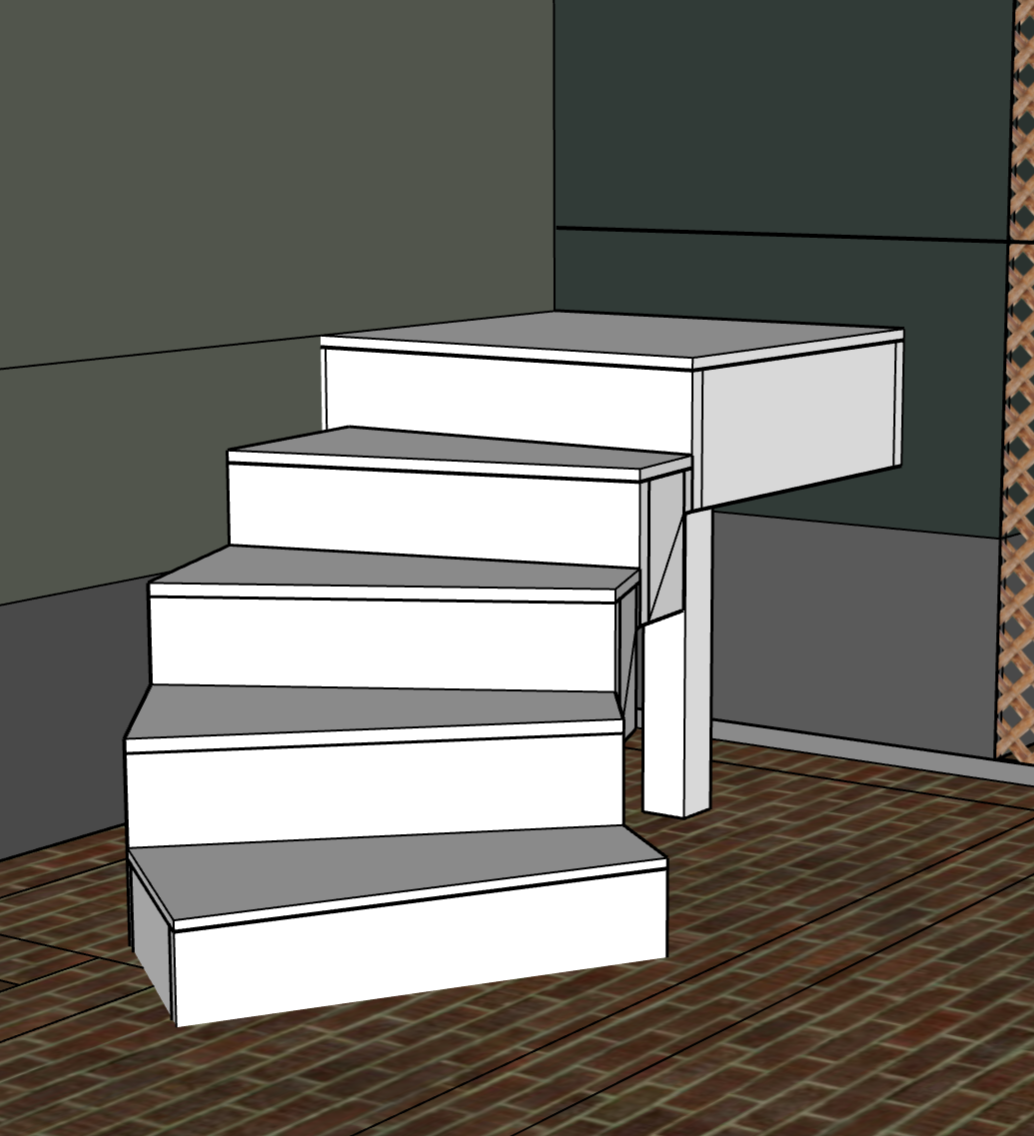
Constructing the Boxes
The Sketchup drawings used real measurements, so I exported the final dimensions and got to building. Everything is constructed out of ground-contact PT wood. I used construction adhesive and structural screws to hold each box together. I wasn't too concerned with appearance as everything will get covered later. Starting from the landing, I attached each box to the framing above using more structural screws. I was really hoping the middle 3 boxes could just float with the fastened supports acting as a stringer...
Yeah, no. There was way too much flex. I never claimed to be a structural engineer.
To fix it, we started adding posts. In total, we needed a single post for the inside curve and 3 posts (one per floating box) on the outside curve. The landing's post has a hidden standoff properly buried in concrete, while the box posts (not visible in these photos) are just resting on the patio surface.
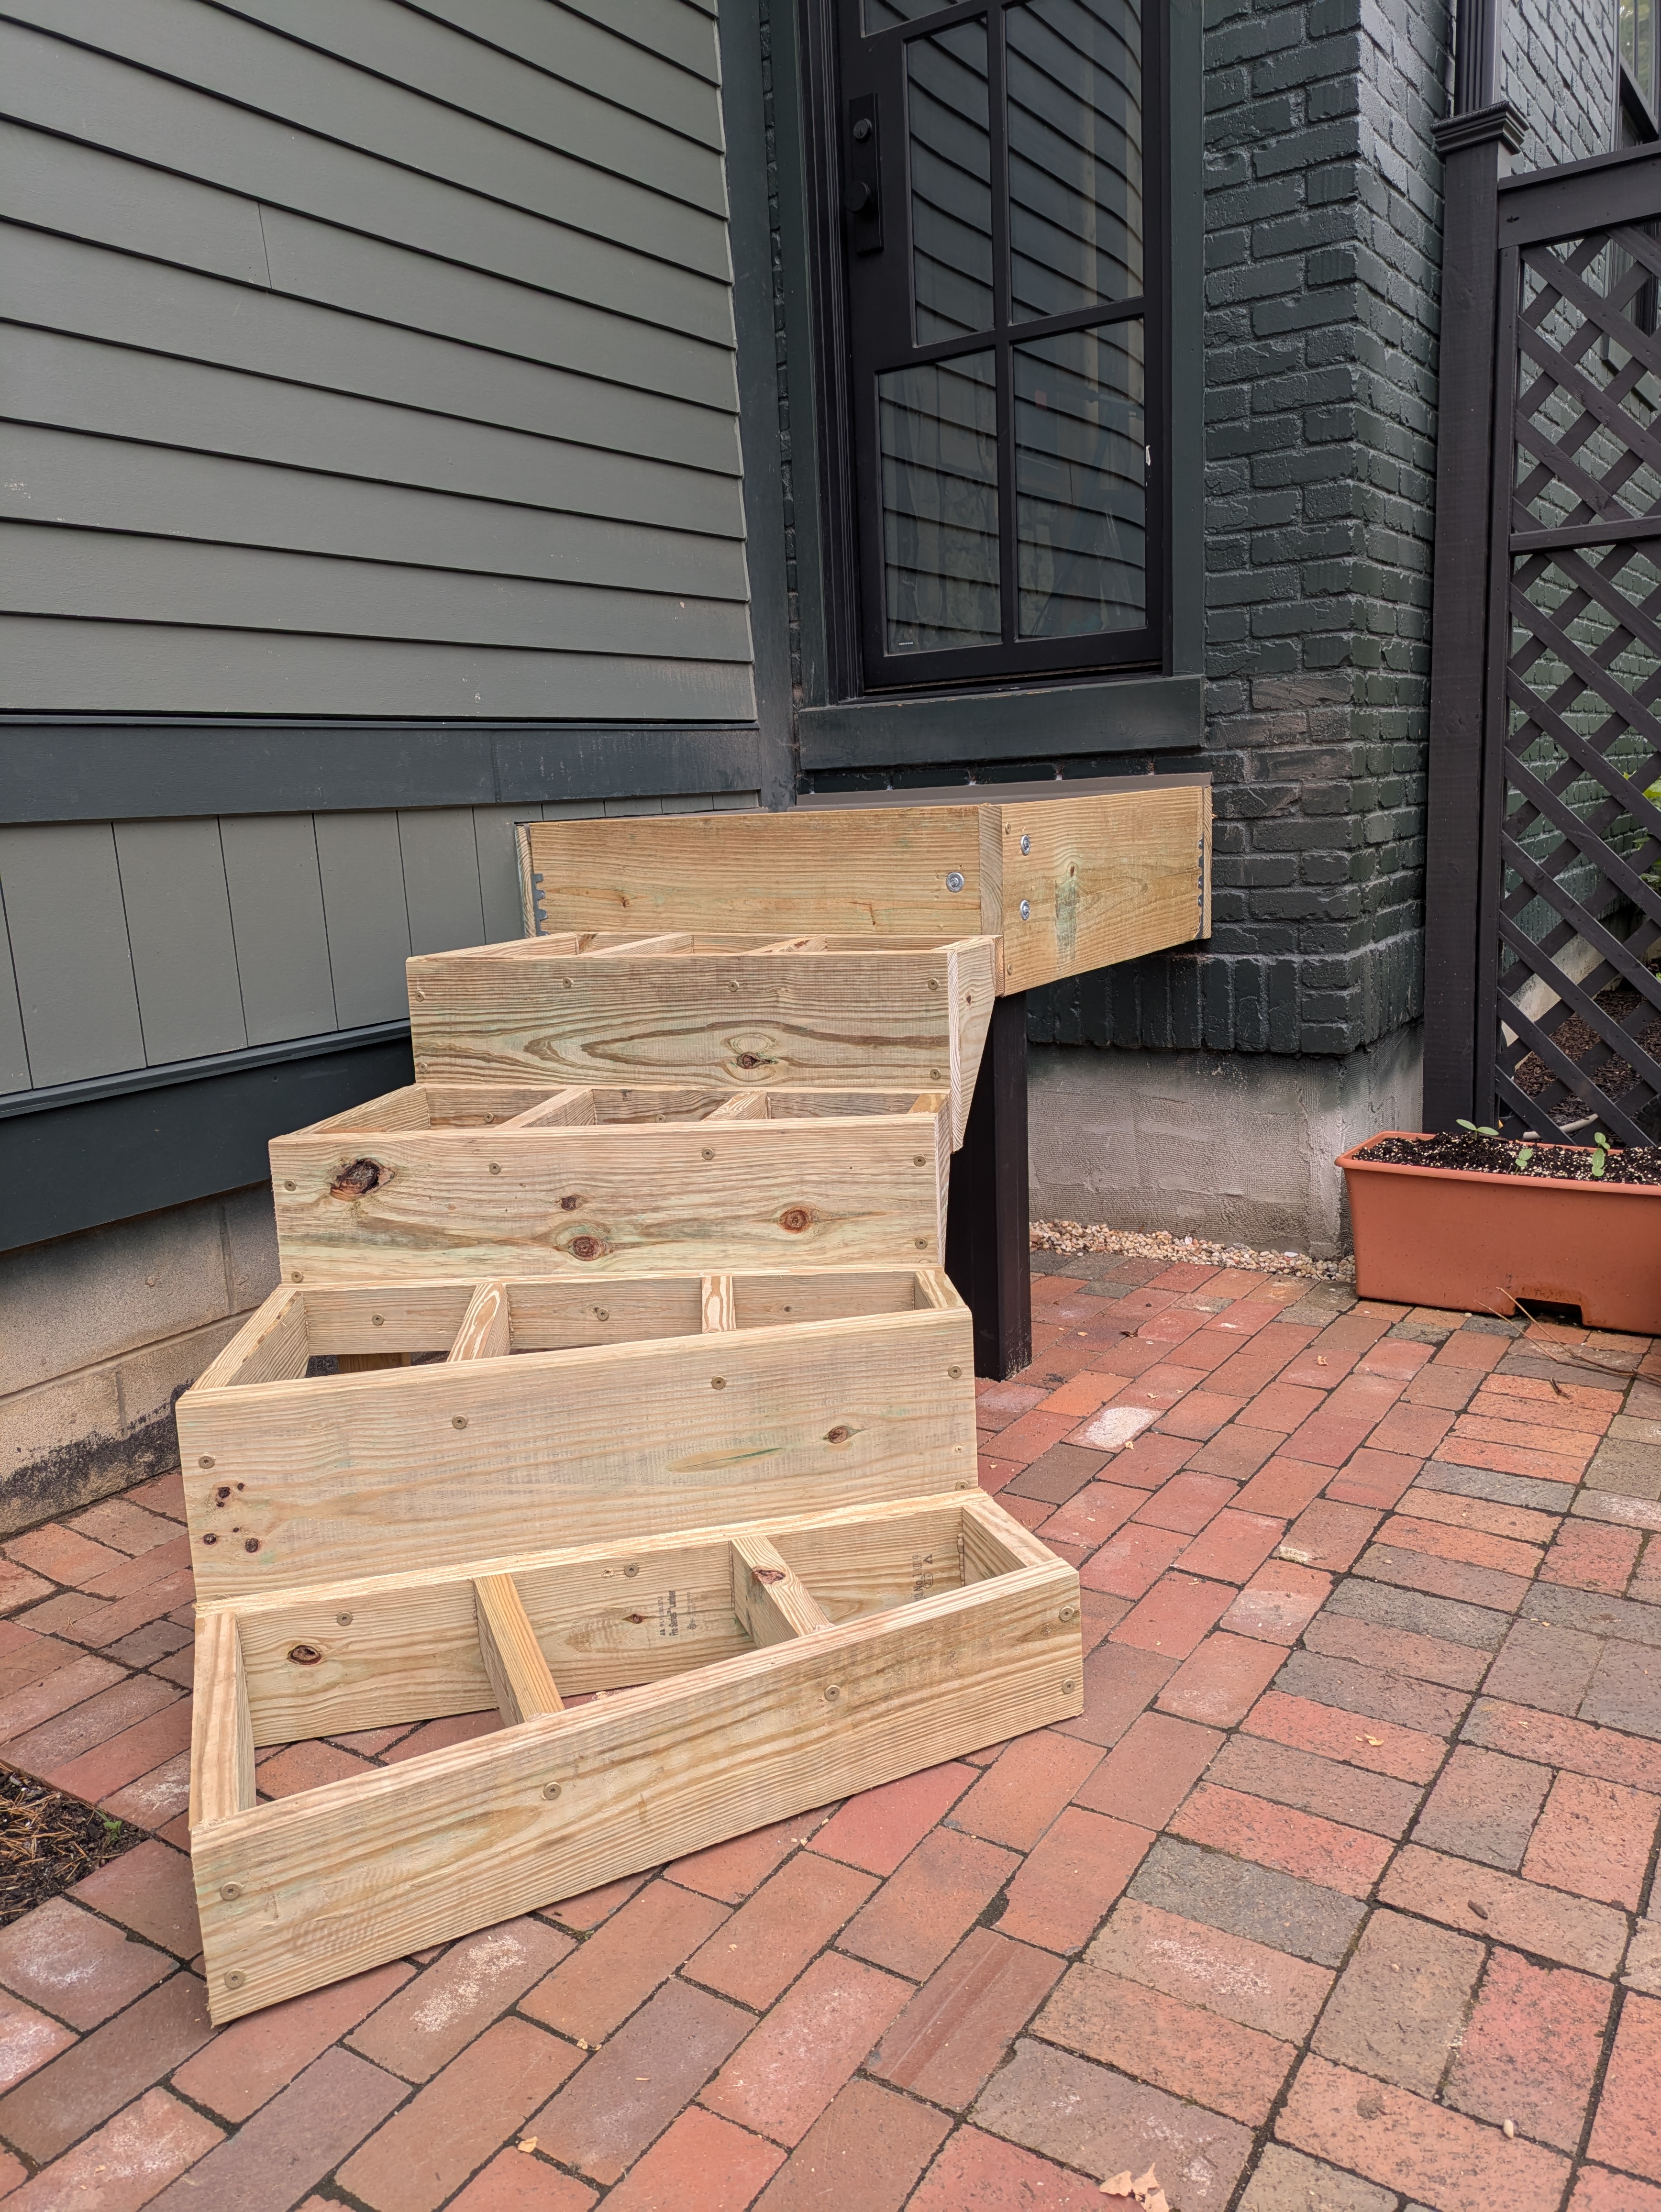
Wrapping the Frame
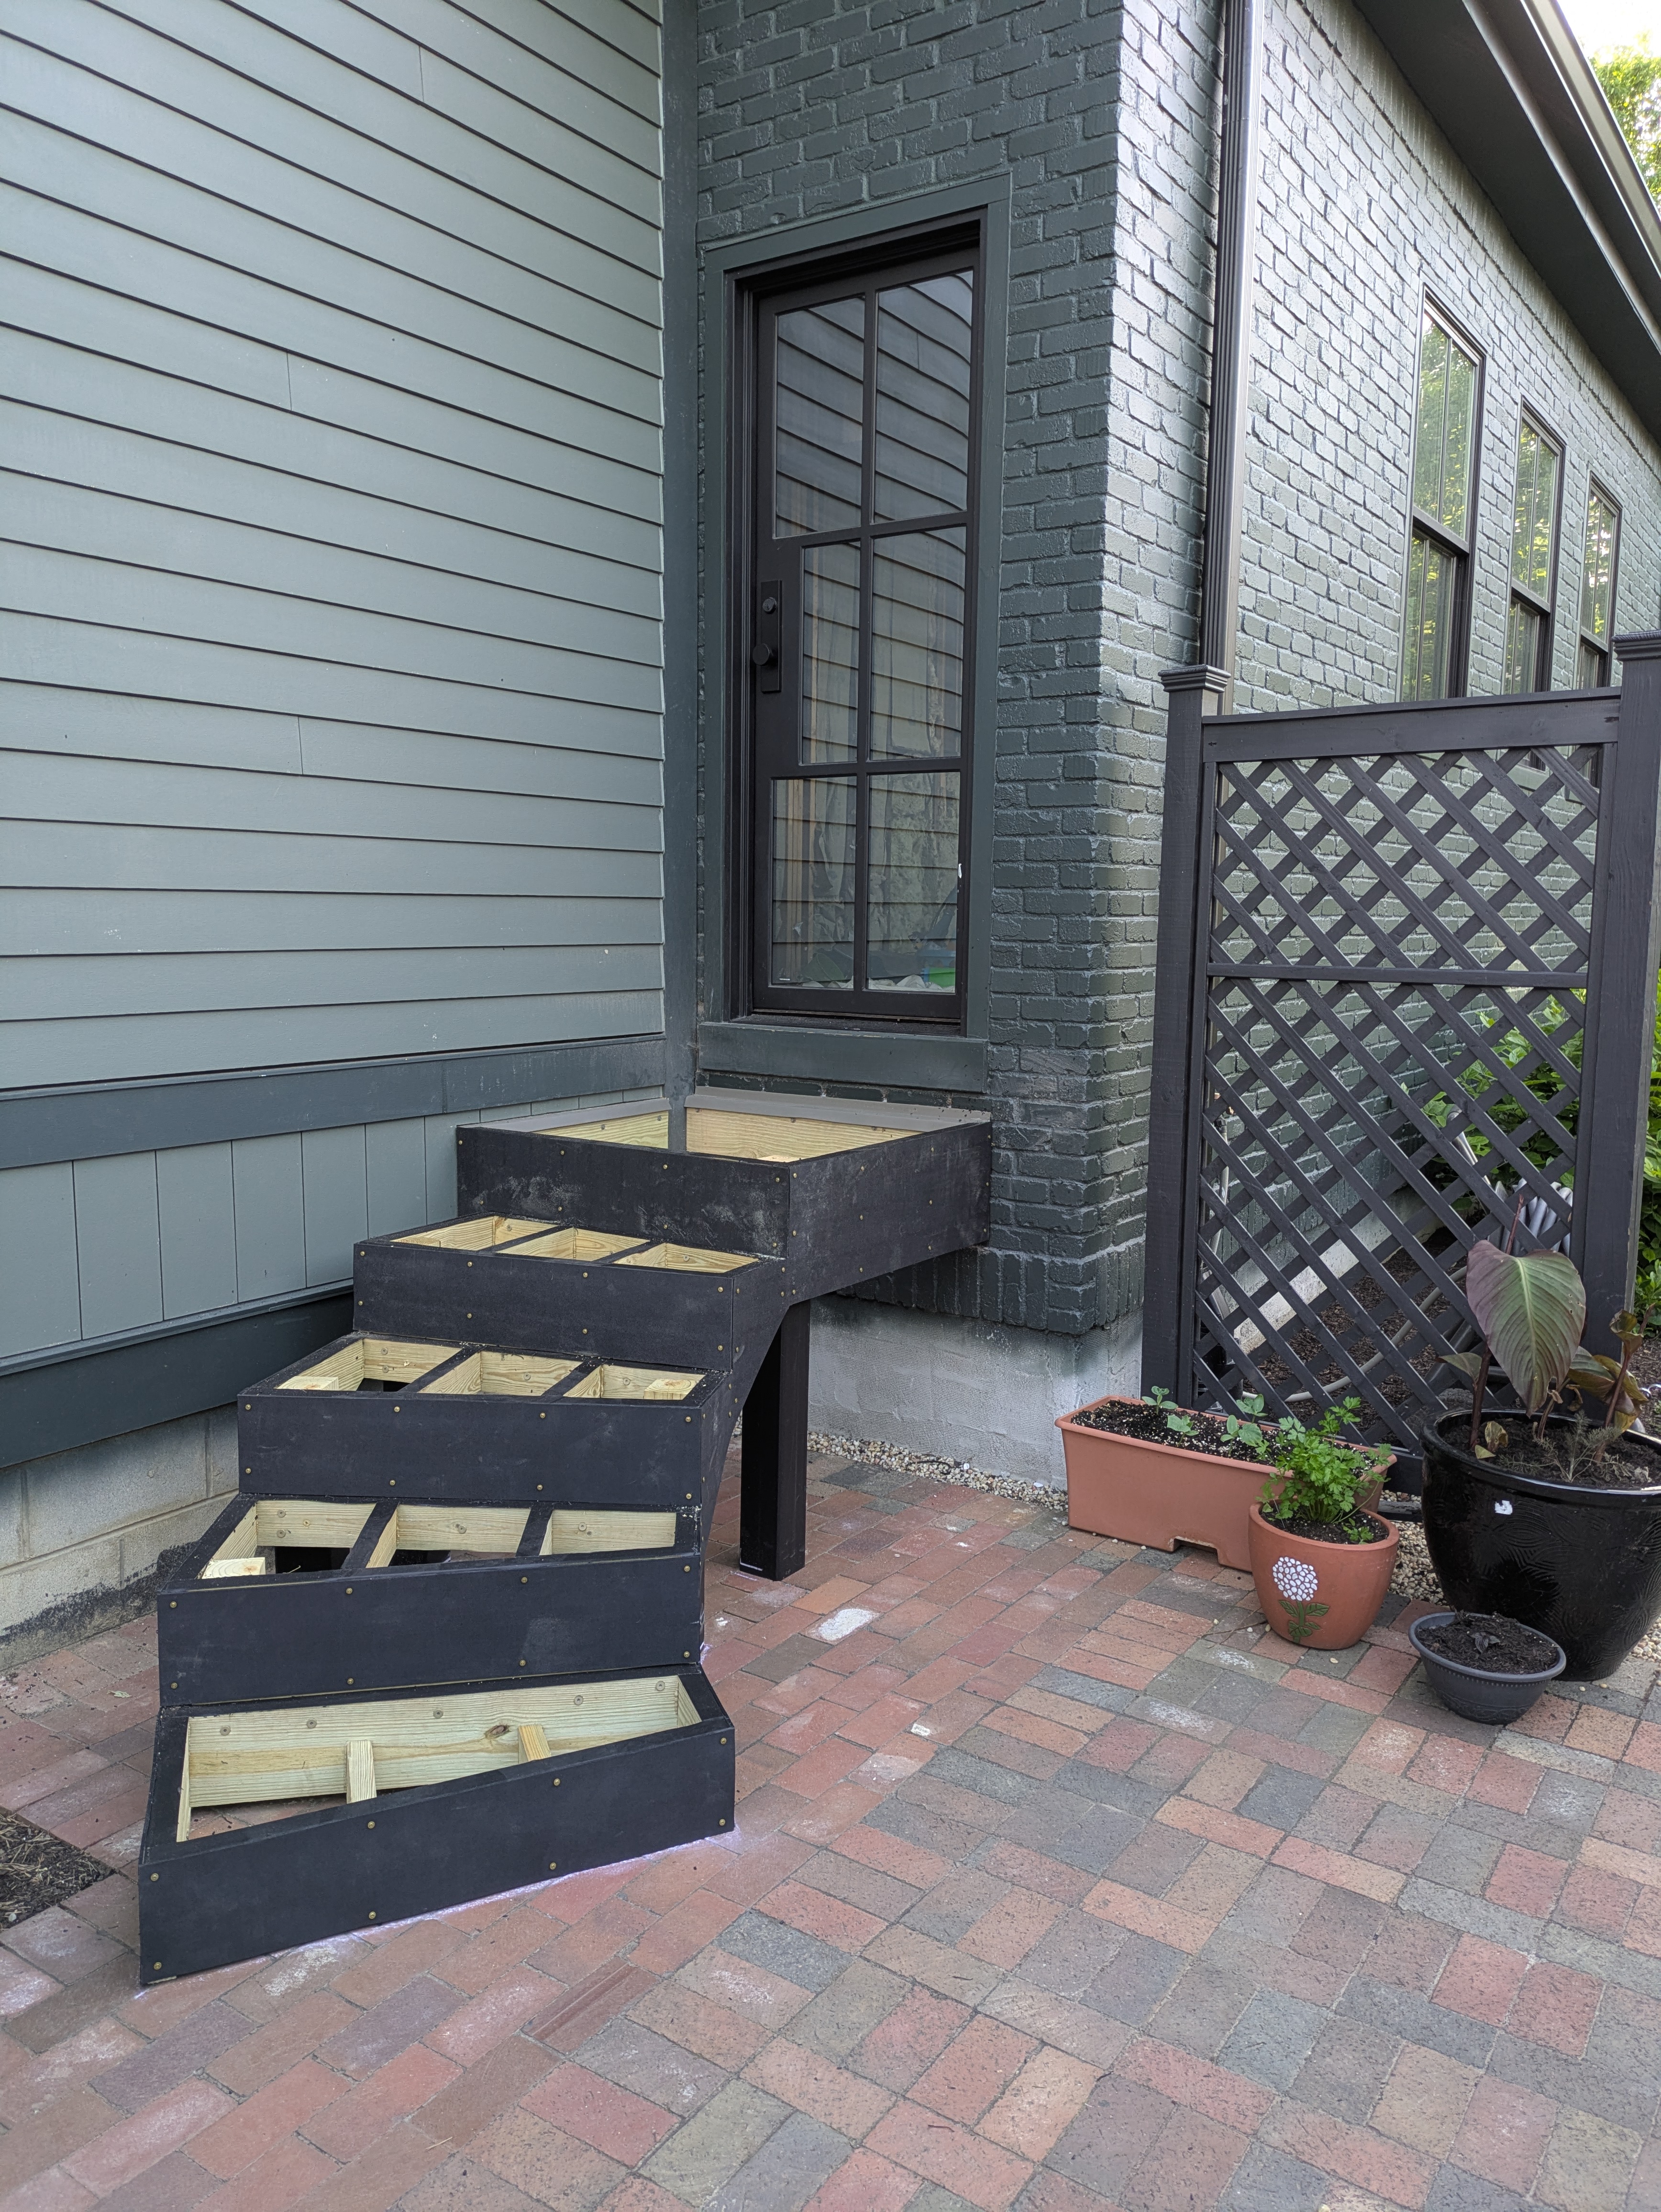
Once constructed, we had to figure out how to make them look decent. I tried bending some 1/2" plywood using kerfs, but the 3' radius was still too tight. 1/4" plywood would probably work, but it's hard to find treated ply at that thickness and there's still a big delamination risk. We couldn't use PVC sheets because the dark paints would cause them to warp. Luckily, Menards carried 1/4" black HDPE panels. The only issue is that you basically can't use adhesives on this material. As it was our best option, we decided we could live with visible screw heads instead. Each post is wrapped with a composite sleeve.
The HDPE risers were replaced with primed pine shortly after this picture was taken.
Cutting the Treads
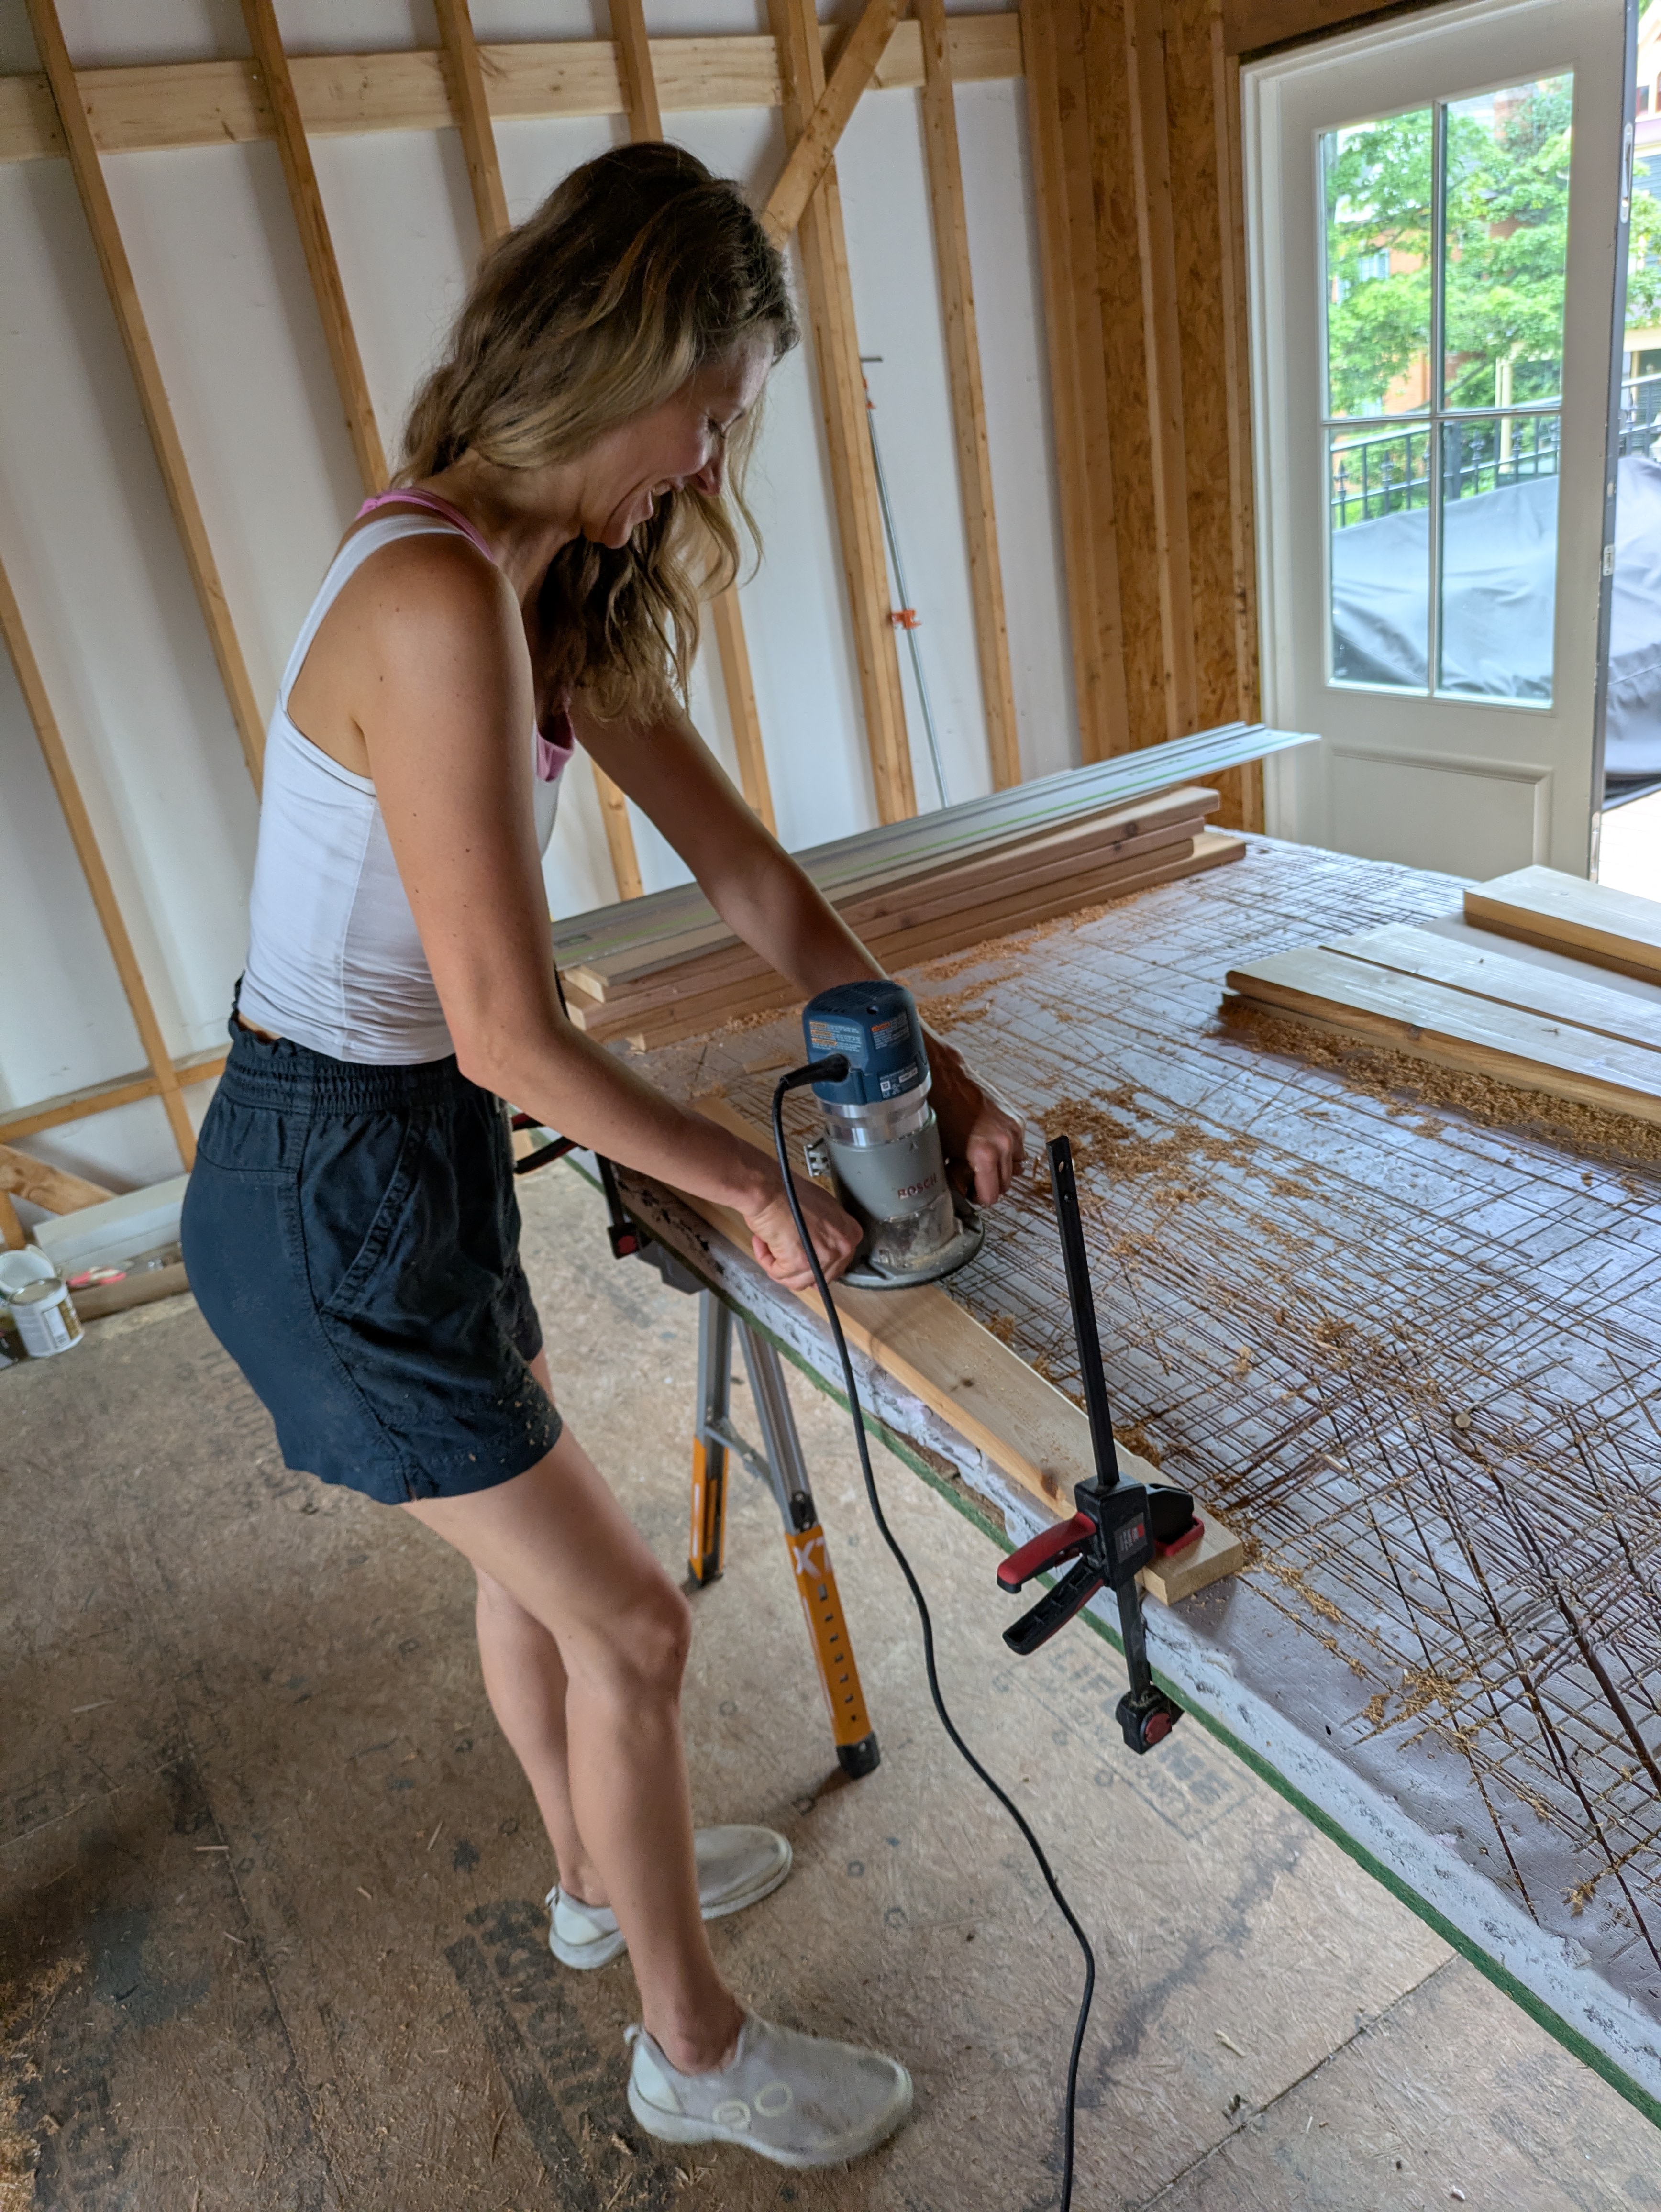
From a bird's eye view, each step is a trapezoid. I cut an MDF template that would cover each box with a 3/4" overhang. This template was then divided into sections representing the treads. My wife traced and cut the treads from 5/4" cedar decking using our tracksaw. She then used a roundover bit along all edges, top and bottom. If you're going to do something, do it right!
Staining & Painting
Before screwing down the treads, my wife painted the risers and HDPE panels to match our brick/trim while I stained the cedar with an oil-based product. The front treads only have room for one screw on the narrow side, but I threw in a healthy dose of construction adhesive as I laid them. They seem to be doing okay. We'll add handrails eventually, but it's pretty far down on the priorities.
Conclusion
I'd probably avoid doing something like this again. It took a lot of planning and audibles, not to mention digging up parts of the patio to retrofit the landing post. Just build a staircase like everyone else and stop showing off.